Hello From France: The Best Napoleon Cake Recipe
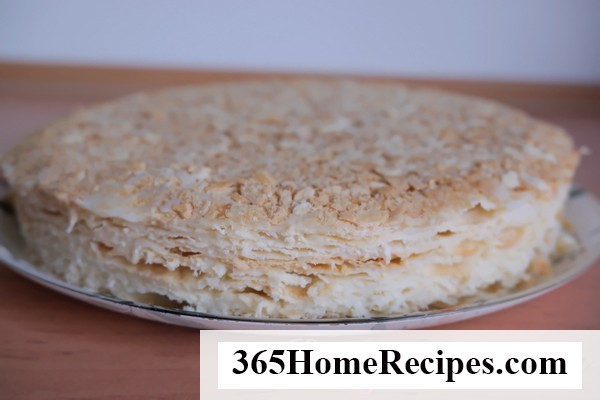
Both adults and children love sweets. Holidays and anniversaries are not complete without dessert. One of the most popular is the Napoleon cake recipe. But not everyone knows why it is called that.
It turns out that the confectioner of the great emperor came up with this recipe when, in an effort to please Bonaparte, he bought the popular “Royal biscuit” pie in those days, cut it into layers and anointed it with custard. Napoleon liked the cake so much that the same evening the chef had to bring another cake for dinner. Only with self-made cakes.
There is also an opinion that the name of the cake has nothing to do with Bonaparte, but it is named after Napoleon III. Be that as it may, the cake is better known in Europe under the name “Millefeuille” (thousand layers). Napoleon is called mainly in Ukraine. But that doesn’t make it any less delicious, does it?
If you do not yet have your own recipe for this wonderful cake, we suggest you prepare a dessert according to the recipe below. Who knows, maybe he will become a family?
At first glance, it may seem that cooking Napoleon is not so simple, but in reality it all depends on practice. Of course, the first time you will have to tinker a little, but thanks to our step-by-step recipe with a photo, the process will go more fun and eliminate possible errors.
Ingredients
- Add to Shopping List +
- Add to Shopping List +
- Add to Shopping List +
- Add to Shopping List +
- Add to Shopping List +
- Add to Shopping List +
- Add to Shopping List +
Nutrients
260.15
23.14
13.98
9.41
Step by step method
Tips & variations
-
The flour for baking cakes needs to be sifted several times. Then the dough will be lush, and the cake will be tastier.
-
The splendor of the dough also depends on the margarine that is used in the recipe. The fatter it is, the better.
-
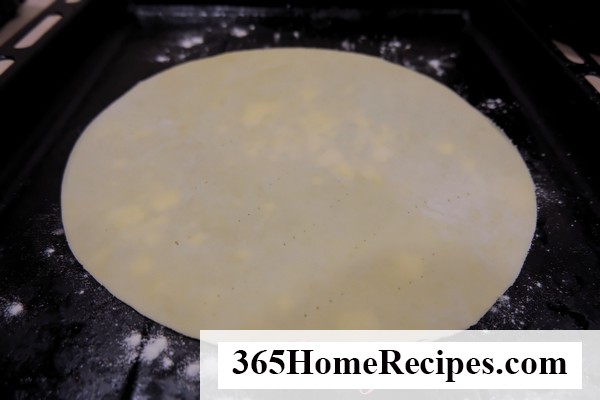
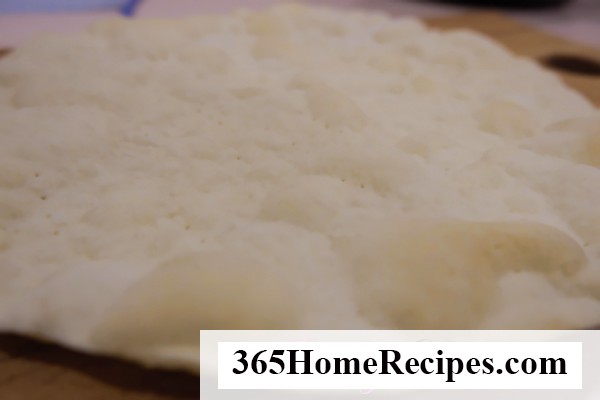
Before sending the cakes to the oven, do not forget to make a few punctures on the surface. This will prevent them from puffing up while baking and cook evenly.
-
If desired, the finished dessert can be decorated with fresh berries, chocolate figurines or almond petals.

