Oven-Baked Chicken Strips

Print Recipe
Today, we’re making juicy oven-baked chicken strips with a crispy coating. This delicious and healthy dish is a great alternative to fast food, and it’s easy to prepare in no time at all.
Nutritional Information oven-baked Chicken Strips (Per 100 g)
| Nutrient | Amount | % Daily Value |
|---|---|---|
| Calories | 180 kcal | 9 % |
| Protein | 20 g | 40 % |
| Fat | 8 g | 12 % |
| Carbohydrates | 10 g | 3 % |
| Cholesterol | 60 mg | 20 % |
| Vitamin A | 150 μg | 17 % |
| Vitamin C | 2 mg | 2 % |
| Calcium | 150 mg | 15 % |
| Iron | 1.2 mg | 8 % |
| Potassium | 300 mg | 9 % |
| Phosphorus | 200 mg | 25 % |
Enjoy your Oven-Baked Chicken Strips, and stay tuned for more delicious recipes!
Ingredients
- Add to Shopping List +
- Add to Shopping List +
- Add to Shopping List +
- Add to Shopping List +
- Add to Shopping List +
- Add to Shopping List +
Step by step method
-
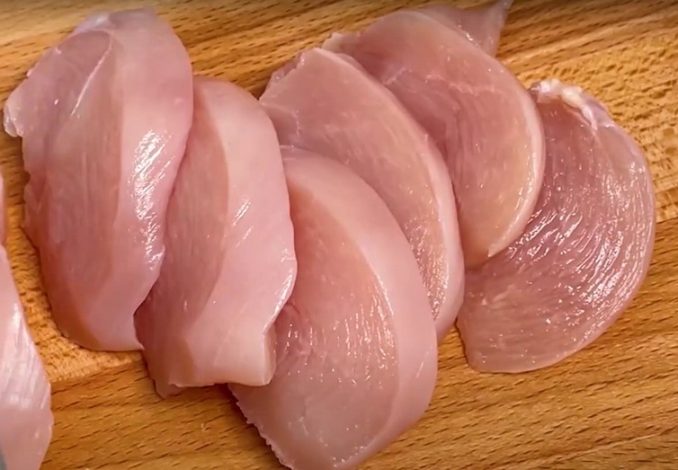
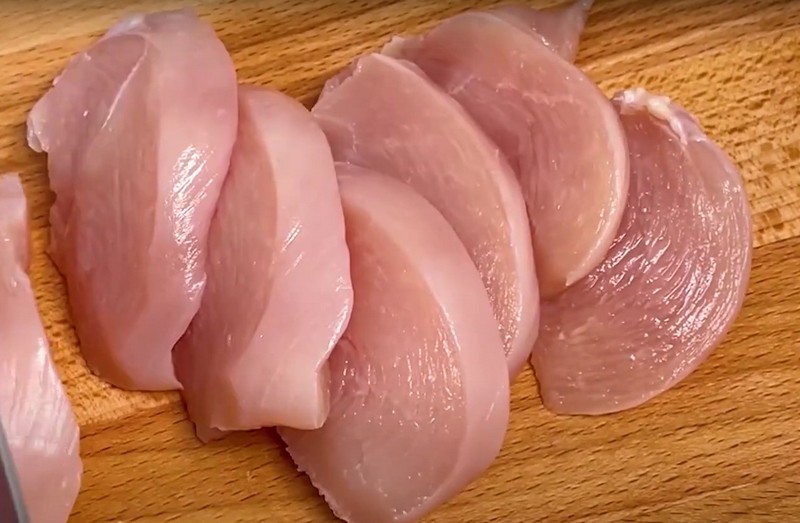
Prepare the Chicken
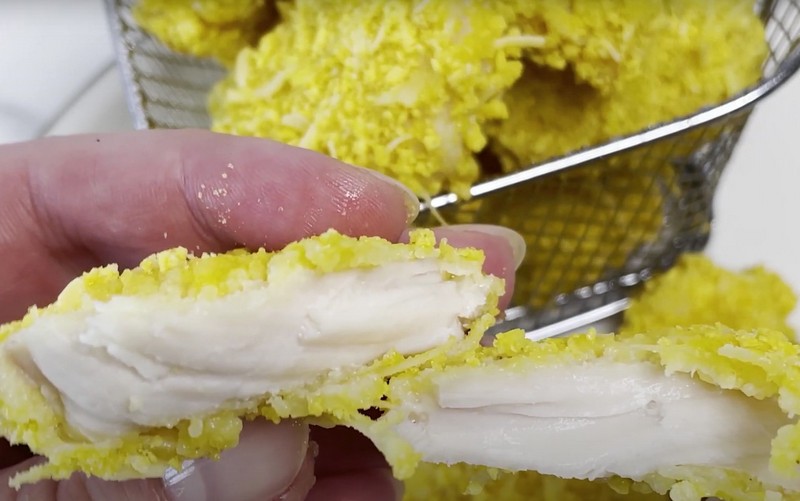
Start by cutting the chicken breast into pieces of any size you prefer. If you want your pieces to resemble classic chicken strips, slice them into long, thick sticks. The shape doesn’t just add to the aesthetics; it also ensures that every bite is tender and juicy.
-
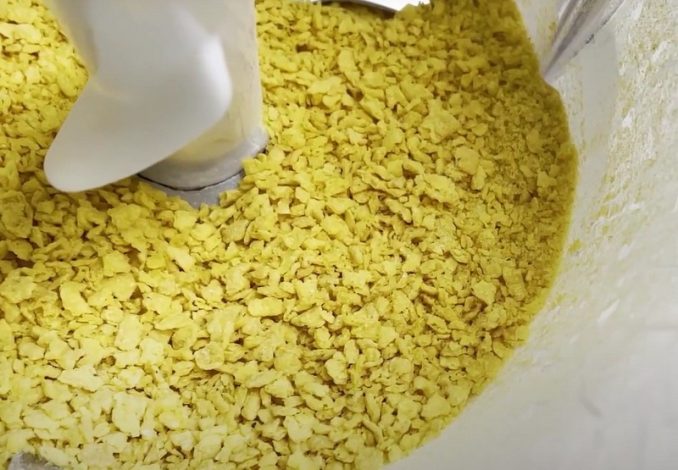
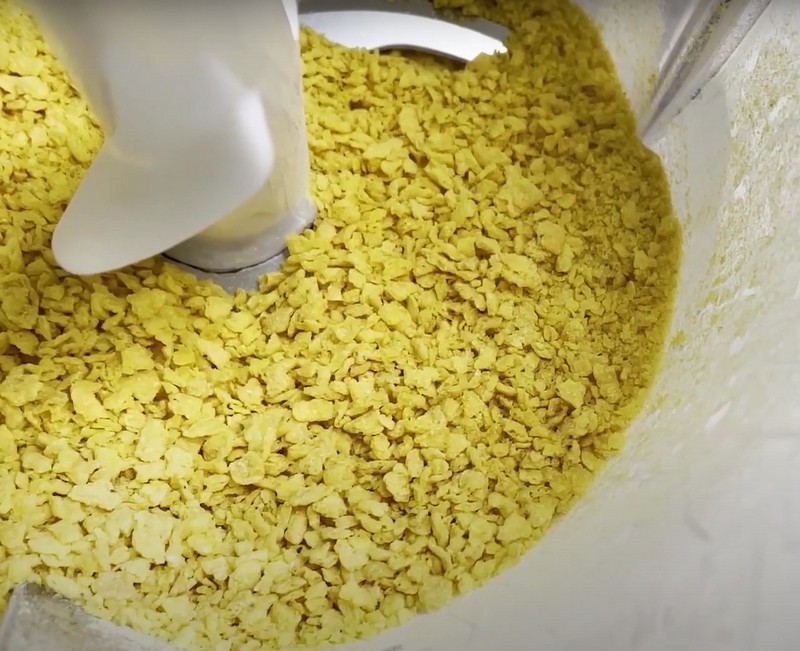
Make the Crispy Coating
Place the cornflakes into a blender and pulse them until they reach a crumb-like consistency. These cornflake crumbs will give your chicken strips that irresistible crunch, something that’s hard to achieve with flour alone.
-
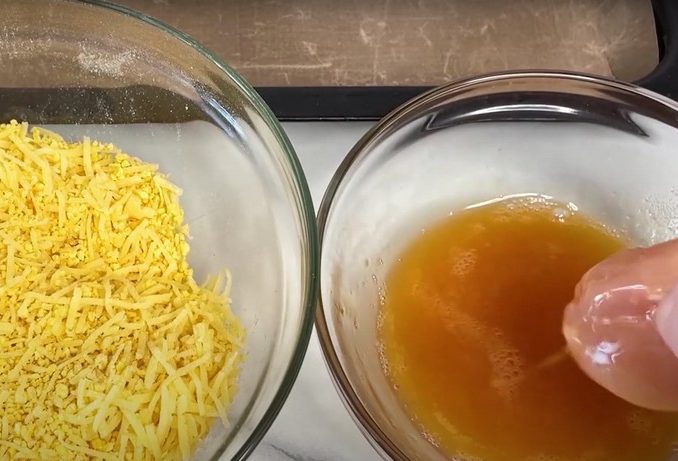
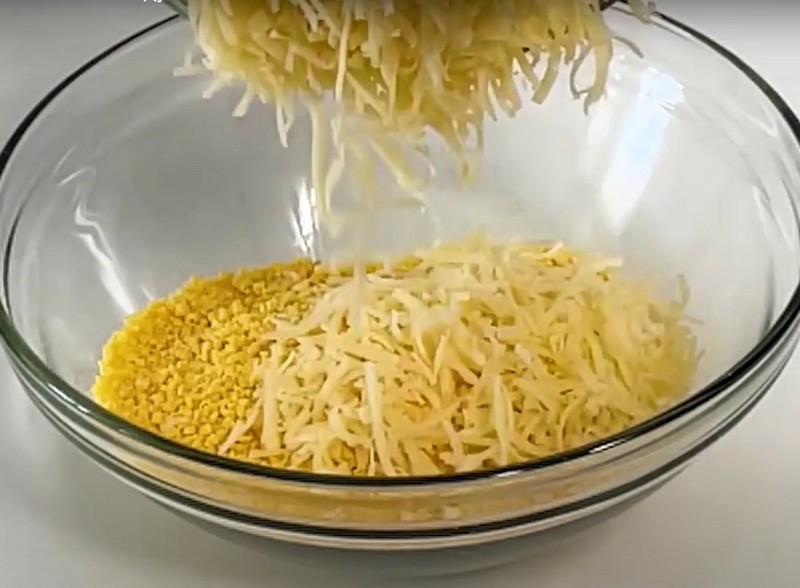
Grate the Cheese
Take your hard cheese and grate it using a medium or fine grater. The fat content in the cheese is crucial here—higher fat cheese will melt better, giving you that wonderful, golden-brown crust.
-
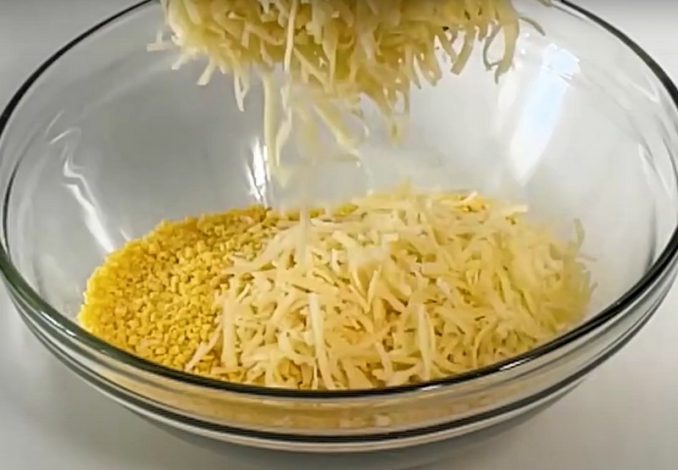
Mix the Coating
Combine the grated cheese with the crushed cornflakes in a bowl. Mix well until everything is evenly distributed. For extra flavor, feel free to add some of your favorite spices or dried herbs at this stage—paprika, garlic powder, or dried oregano work beautifully.
-
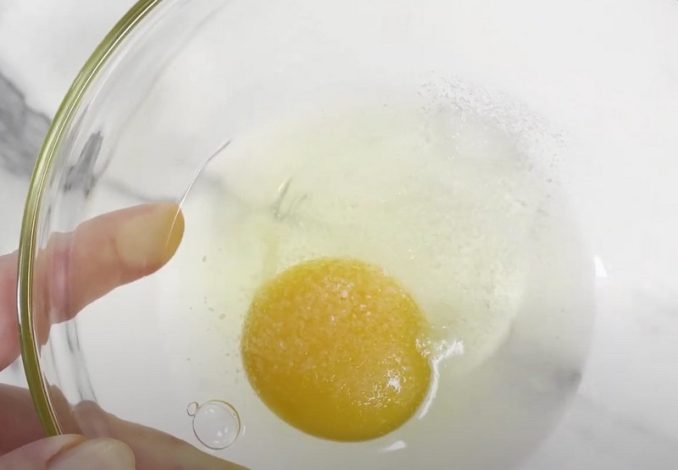
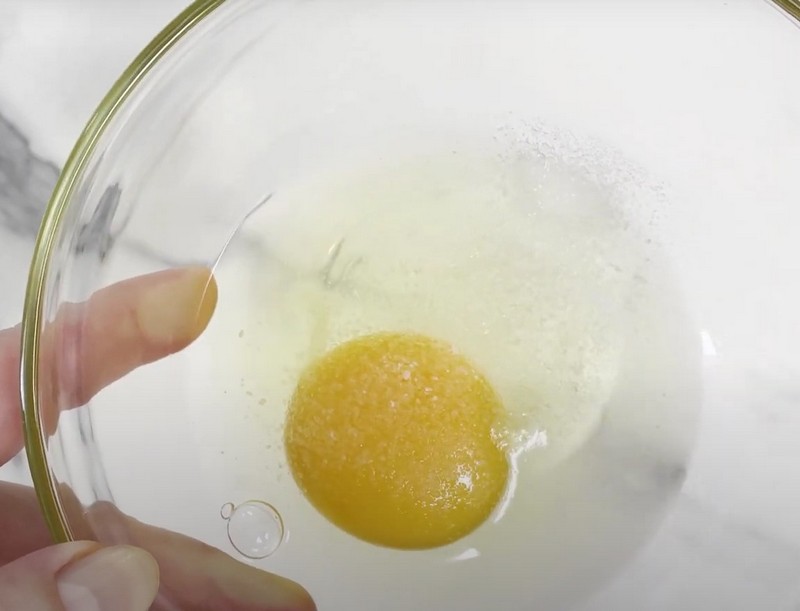
Prepare the Egg Wash
In a separate bowl, crack the egg, add a pinch of salt, and whisk until smooth. Be mindful of how much salt you add, as the cornflakes may already contain some salt.
-
Coat the Chicken
Take each piece of chicken and first dip it into the egg wash, making sure it’s fully coated. Then, roll it in the cheese and cornflake mixture, pressing gently to ensure the coating sticks well. This double-layer ensures maximum crispiness.
-

Arrange on a Baking Tray
Place the coated chicken strips onto a baking tray lined with a Teflon baking mat or parchment paper. This helps prevent sticking without needing extra oil, keeping the dish light and healthy.
-
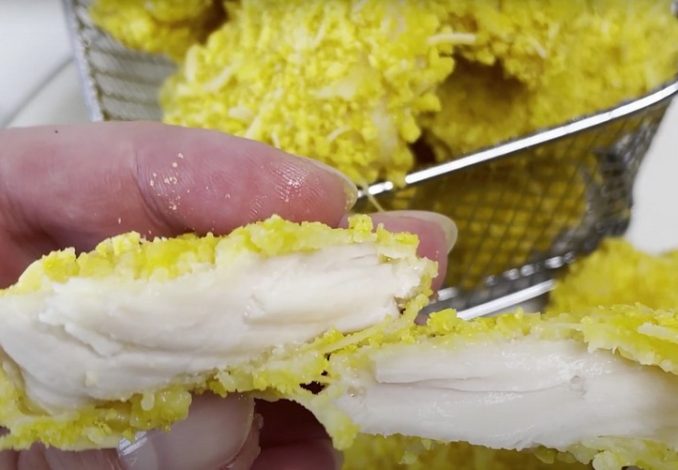
Bake the Chicken Strips
Preheat your oven to 200°C (400°F). Bake the chicken strips for 15-25 minutes, depending on their size. For the most even crunch, consider flipping the strips halfway through the baking time. To keep the chicken moist, be careful not to overcook it—check the largest piece after 15 minutes and adjust the time accordingly.
-
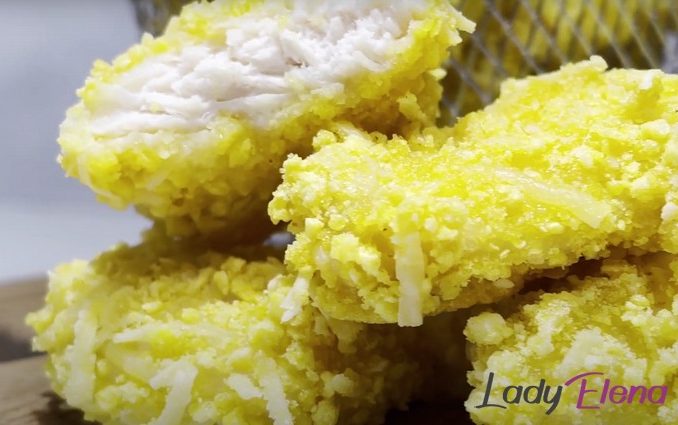
Serve
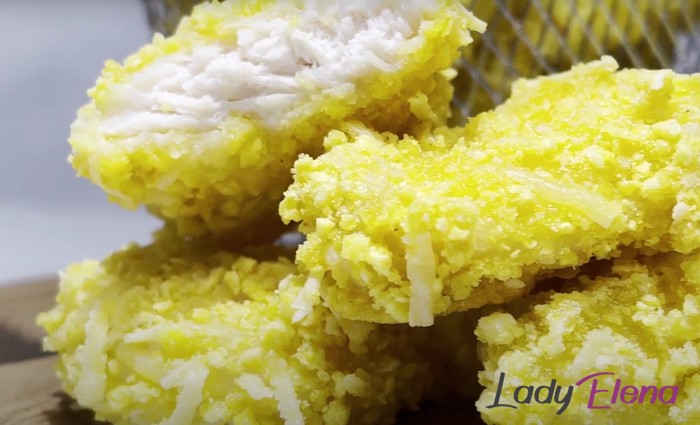
Once the chicken strips are golden and crispy, take them out of the oven. Serve them immediately with your favorite dipping sauce for the best flavor experience.


Tips & variations
-
If you want a particularly rich and gooey crust, use cheese with a higher fat percentage. Cheeses like cheddar or gouda work wonders.
-
Don’t hesitate to spice up the cheese and cornflake mixture. Adding spices such as smoked paprika, garlic powder, or even cayenne pepper can take your chicken strips to the next level.
-
Serve your chicken strips with homemade dipping sauces like garlic yogurt sauce or tangy tomato dip for an extra burst of flavor.
-
Remember that the crispy coating can lose its texture if stored improperly. These chicken strips are best enjoyed fresh out of the oven. If you need to reheat them, use an oven or air fryer to maintain the crunch.