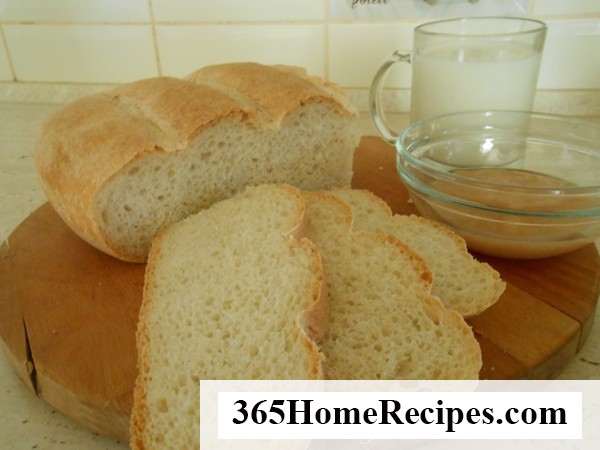
Fluffy and Fragrant Whole Wheat Bread in the Oven

Print Recipe
What could be better than homemade whole wheat bread just out of the oven? It turns out soft, airy and very fragrant. A ruddy, crispy crust is better than any biscuits for tea. In addition, baking bread at home is not as difficult as it seems. It is enough to have a proven recipe on hand and follow its instructions exactly, referring to step-by-step photos.
Of course, the easiest way to bake bread in a special bread machine. In it, the process is fully automated and does not require the attention of the hostess. But the lack of technology cannot be an obstacle, because you can cook delicious bread just in the oven.
The recipe for kneading uses a bread maker. But you can use a food processor or knead by hand. The main thing is to give time for proofing.
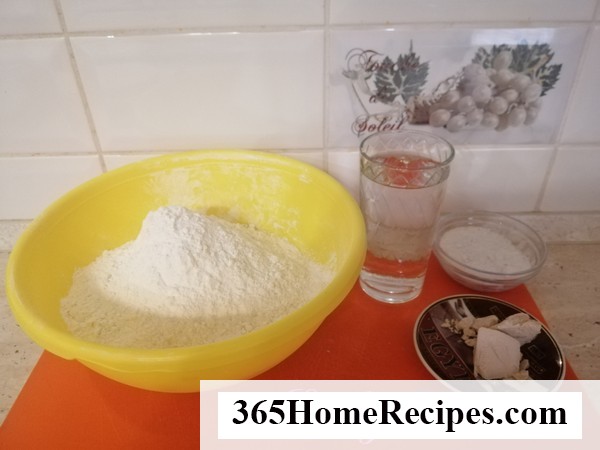
Ingredients
- Add to Shopping List +
- Add to Shopping List +
- Add to Shopping List +
- Add to Shopping List +
Nutrients
Calories
183.26
183.26
Carbohydrates
40.52
40.52
Fat
0.69
0.69
Protein
6.26
6.26
Step by step method
-
Step 1
Products will need a minimum. The main thing is to pay attention to the release date when choosing flour. Ideally, at least 3 months should pass from this moment, otherwise the dough will float.
-
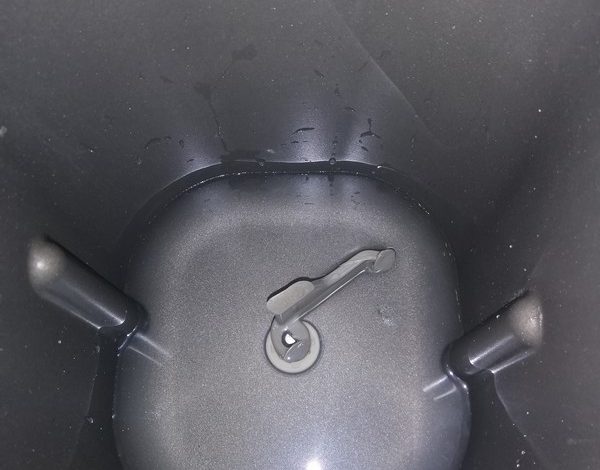
Step 2
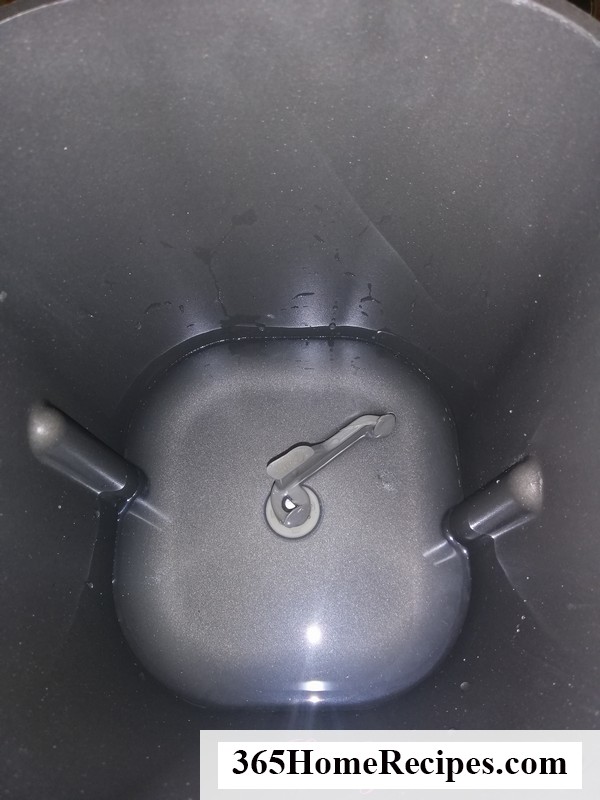
So, pour warm water into the kneading container.
-
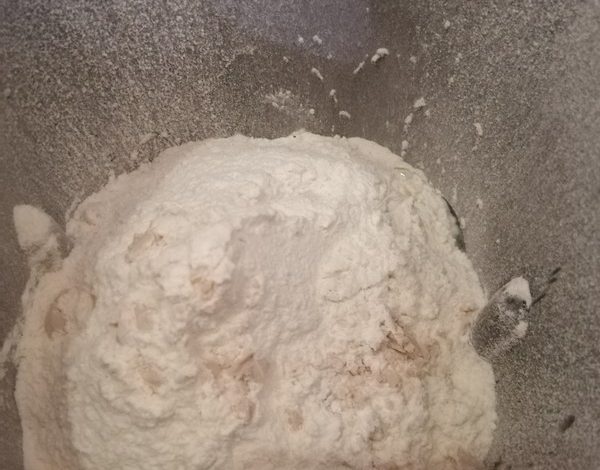
Step 3
We put salt, yeast there, sift the flour and turn on the kneading.
-
Step 4
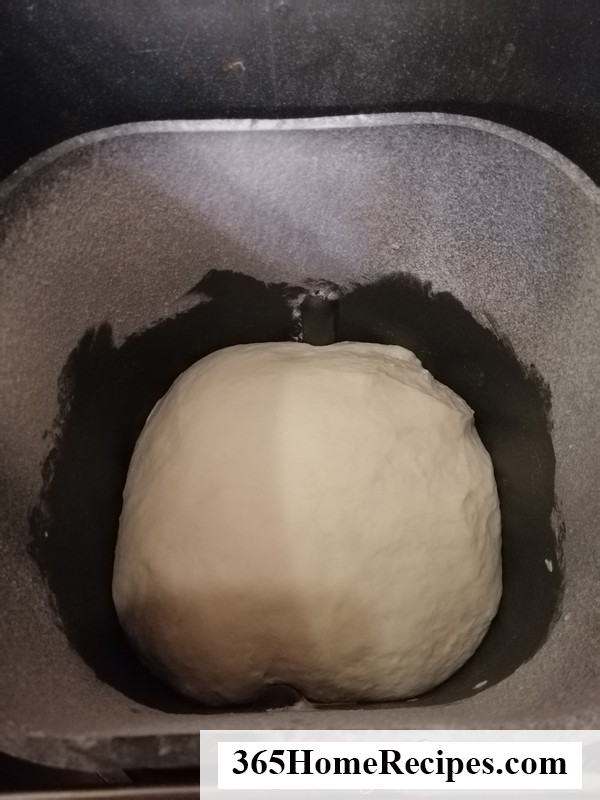
When the dough is kneaded, leave it in the bread machine for 25 minutes, during which time it should double in size.
-
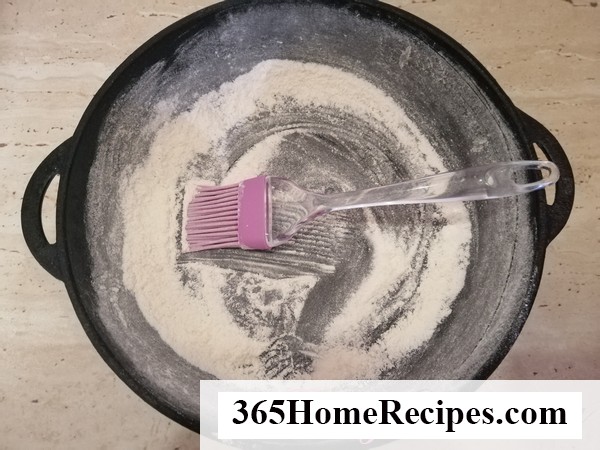
Step 5
Pour a tablespoon of sifted flour into a cast-iron pan and distribute along the bottom and sides.
-

Step 6
We remove the excess.
-

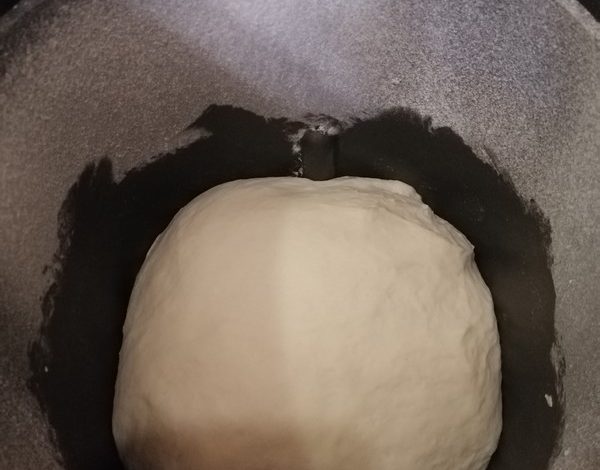
Step 7
We spread the dough into the prepared form, having previously formed a ball.
-

Step 8
Cover with a lid, put in a warm place for 1-1.5 hours.
-
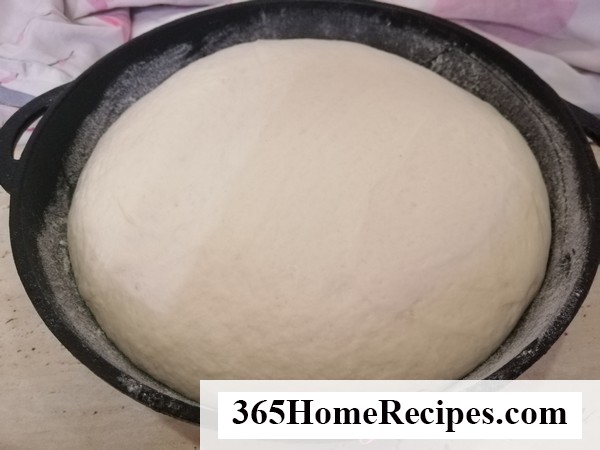
Step 9
During this time, the dough will grow in volume by 3-4 times.
-

Step 10
With a sharp knife make three cuts on the surface. Again cover with a lid and put in a preheated oven to 220 degrees.
-
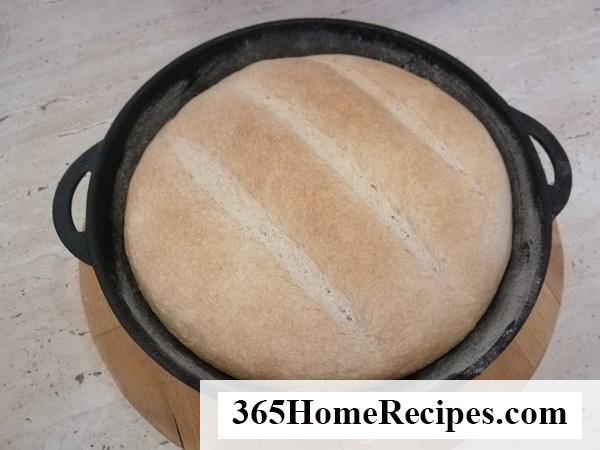
Step 11
We bake under the lid for 10 minutes, after which we remove the lid and continue to bake already at a temperature of 180 degrees until golden brown.
-

Step 12
We take out the baked bread from the mold, put it on the wire rack and let it cool completely.
-

Step 13
The finished bread is airy, medium-pored with a crispy crust. Having tried it only once, you will no longer want to eat store products.

Tips & variations
-
Remember, all products, as well as dishes, must be at room temperature, that is, not lower than 18-20 degrees. Otherwise, the dough will not fit well due to the slowdown of the yeast.
-
If you stick to the time frame specified in the recipe, but the room is very cold, or you use cold flour or water, the bread simply does not have time to rise and spread over the baking sheet.
-
Another important tip concerns salt. If it is added along with the yeast at the same time, it will slow down their work and the bread may not rise at all. That is why salt is added at the final stage of kneading.
-
It is worth saying a few words about flour. For baking bread, a product that has matured well is suitable - at least 3 months from the date of grinding or the date of packaging.
-
Flour must be sifted not only to enrich it with oxygen, but also in order to remove lumps that may have appeared during storage.
-
But the most important advice concerns not products at all, but your own mood. Treat homemade bread with respect and love, and then it will always be lush and successful.